How to Use Metallic Pigment for Stunning Art Projects?
Metallic Pigments have become a popular choice in the art community. These brilliant particles can transform simple projects into stunning masterpieces. Artist and expert in metallic applications, Lisa Hart, once said, “Metallic pigments can add depth and magic to any art piece.” Her insights reflect the beauty these pigments bring.
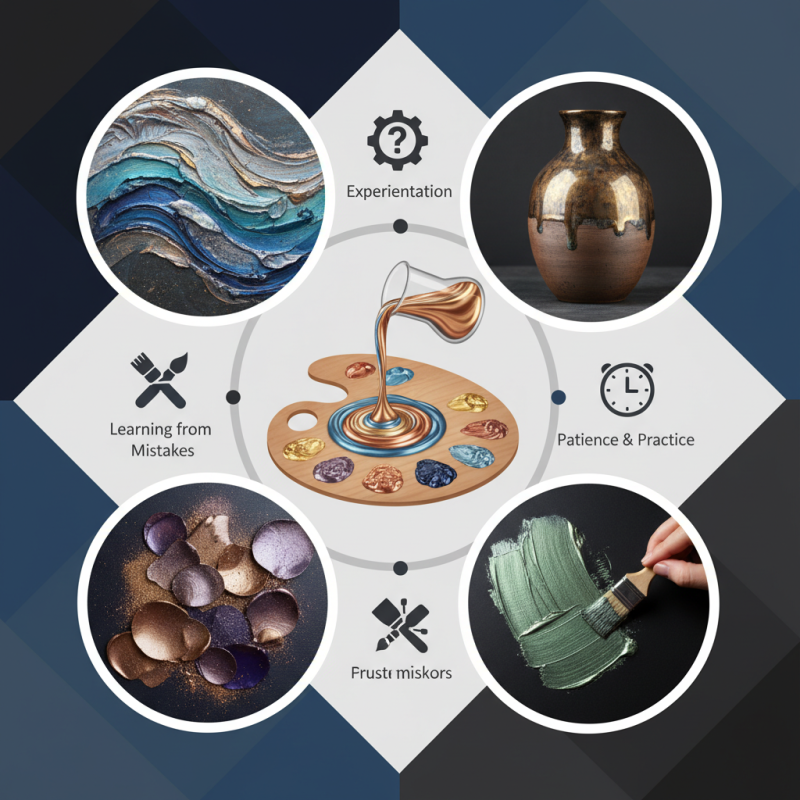
When artists use metallic pigments, they often seek that captivating shimmer. This can elevate the visual impact of paintings, crafts, and mixed media works. Choosing the right pigment is crucial. Some may find it challenging to achieve the desired effects. Experimentation is key here.
Many artists make mistakes when mixing or applying metallic pigments. This can lead to unsatisfactory results. Yet, these challenges offer valuable lessons. The process of refining techniques is part of artistic growth. With patience and practice, anyone can master metallic applications and create eye-catching art.
Choosing the Right Metallic Pigment for Your Art Project
Choosing the right metallic pigment for your art project can significantly enhance the overall look. There are several options available. Each type offers different effects and finishes. For example, some pigments are more reflective, while others provide a soft shimmer. It's essential to consider the desired final look before making a choice.
When selecting a metallic pigment, think about your medium. Water-based paints may react differently than oil or acrylic. Testing a small patch can save time later. Don’t forget about texture, either. A coarse surface might absorb pigments differently than a smooth one. Sometimes, the colors might not blend as anticipated. Adjusting your technique can often lead to unexpected results.
Consider the lighting of your display area as well. Metallic pigments can look different under natural light compared to artificial light. Experimenting with various lighting may reveal new dimensions in your work. Be open to mistakes; they can spark creativity and lead to unique outcomes. Trust the process, and remember that imperfections can add character.
How to Use Metallic Pigment for Stunning Art Projects?
| Metallic Pigment Type | Color | Best Medium | Opacity | Ideal Texture |
| Mica Pigment | Gold | Resin | Semi-opaque | Smooth |
| Synthetic Pigment | Silver | Acrylic | Opaque | Textured |
| Natural Pigment | Copper | Oil | Transparent | Glossy |
| Fluorescent Pigment | Iridescent Blue | Watercolor | Translucent | Matte |
Preparing Your Surface for Optimal Metallic Pigment Application
When preparing your surface for metallic pigment application, the goal is to create an ideal canvas. Start by cleaning the surface thoroughly. Dust, dirt, and grease can ruin your project. Use a gentle cleanser and a soft cloth. This step seems simple, but it’s often overlooked.
Next, consider the texture of your surface. A smooth finish generally works best for metallic pigments. If your surface is rough, it may not reflect the pigment's sheen properly. You might need to sand it down. But remember, over-sanding can cause issues. Finding the right balance is essential.
After cleaning and preparing the texture, priming can enhance adhesion. Choose a primer that suits your medium, whether it’s canvas, wood, or paper. Sometimes, applying a white or light-colored base layer can also brighten the metallic effect. Apply it evenly, avoiding heavy patches. Patience is key here; rushing the prep work may lead to unexpected results.
Application of Metallic Pigment Across Various Art Projects
Techniques for Mixing and Applying Metallic Pigments
Mixing and applying metallic pigments can transform ordinary projects into captivating art pieces. Start by selecting the right mediums. The metallic sheen can vary greatly between acrylics, oils, and watercolors. Each medium requires a different approach and mixing technique. For acrylics, use a palette knife to blend pigment into the paint thoroughly. Watch as the color shifts and glimmers under light.
To apply the pigment, consider using a dry brush technique. This allows for a controlled and textured finish. Lightly load your brush and gently sweep it across the surface. Practice can improve your technique, but it’s okay if it doesn’t turn out perfect every time. Embrace imperfections as part of the art process.
Another technique is layering. Start with a base coat and let it dry. Then, apply metallic pigment over it. This creates depth and complexity. Don’t rush; take your time to observe how the layers interact. Sometimes, the best ideas come from unexpected results. Keep experimenting until you find the perfect balance in your art.
Tips for Enhancing Metallic Effects in Your Artwork
Metallic pigments can elevate your artwork with depth and richness. To enhance their effects, preparation is key. Start with a clean canvas to avoid unwanted textures. Mixing the right amount of metallic pigment with your base medium is crucial. Too much pigment can overwhelm your design, while too little may not show at all. Aim for a balance that highlights your work.
Experimenting with layering is vital. Applying a thin layer of metallic paint allows for a soft sheen. You can then add more layers for dimension. Try using different brushes for varied textures. A flat brush gives a smooth finish, while a sponge creates a unique pattern. Adjust the light source when viewing your work. Reflective surfaces can transform how metallic colors appear.
Don't be afraid to make mistakes. Sometimes, an unintended blend can lead to unexpected beauty. Embrace the imperfections. They can guide you toward new techniques. Remember, art is also about enjoying the process. Discover what metallic pigments can offer, but let trial and error lead the way.
Finishing Touches: Sealing and Preserving Your Metallic Art
When working with metallic pigments, the finishing touches are crucial. Sealing your artwork is essential to preserve its beauty. The right sealant can enhance the shimmering effect of metallic pigments. A clear varnish or acrylic sealer often works well. It protects against damage from moisture and UV light.
Applying the sealant requires precision. Use a soft brush for even application. Make sure to coat the entire surface, avoiding heavy layers. Too much sealant can dull the metallic finish. Test on a small section first. This step allows you to adjust your technique without ruining the entire piece.
Remember that imperfections can elevate your art. Sometimes, brush strokes or uneven coatings create a unique texture. These flaws tell a story and can add character. Reflect on each piece as you seal it. Take time to appreciate the process and the unexpected outcomes that arise.